Elegance ReimagineD: The Refinishing Renaissance
THE FLIP RUNWAY
REFINISHING AWARDS
ARE BACK!
THE AWARDS
REFINISHING AWARDS 2024
Discover Excellence in Furniture Artistry – Enter to Win Prestigious Awards!
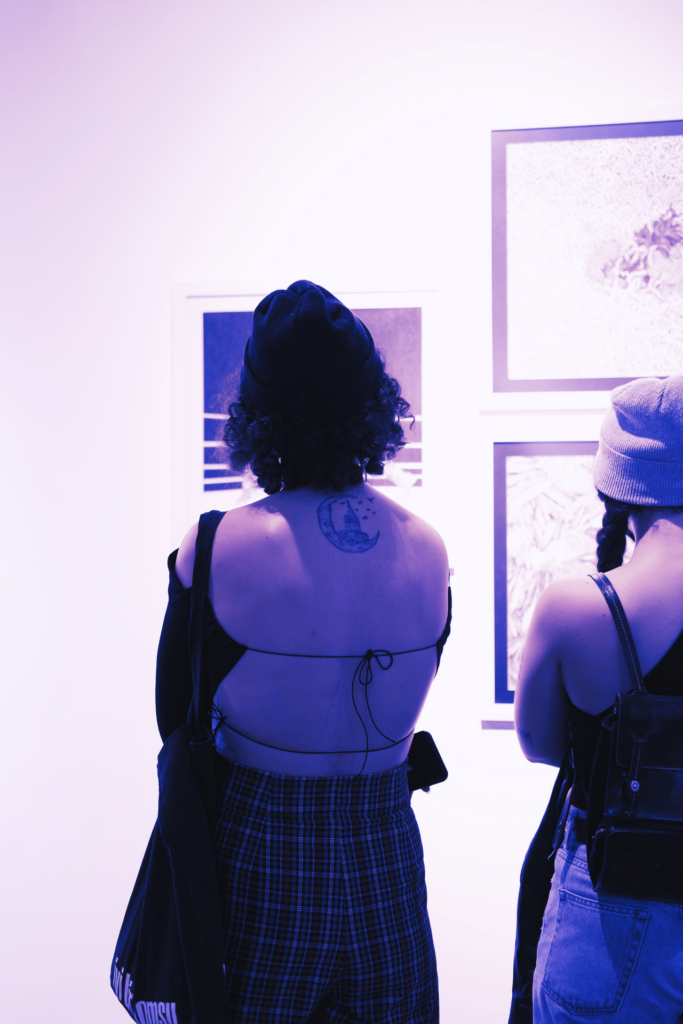
THE EXHIBITION
REFINISHING RENAISSANCE
Experience Artistic Brilliance – Explore Our Inspiring Furniture Exhibition!
GET TICKETS
TICKET
PURCHASE
Join the Celebration – Get Your Tickets for The Refinishing Renaissance!
More Details Coming Soon!
ELEVATE
YOUR ARTISTRY
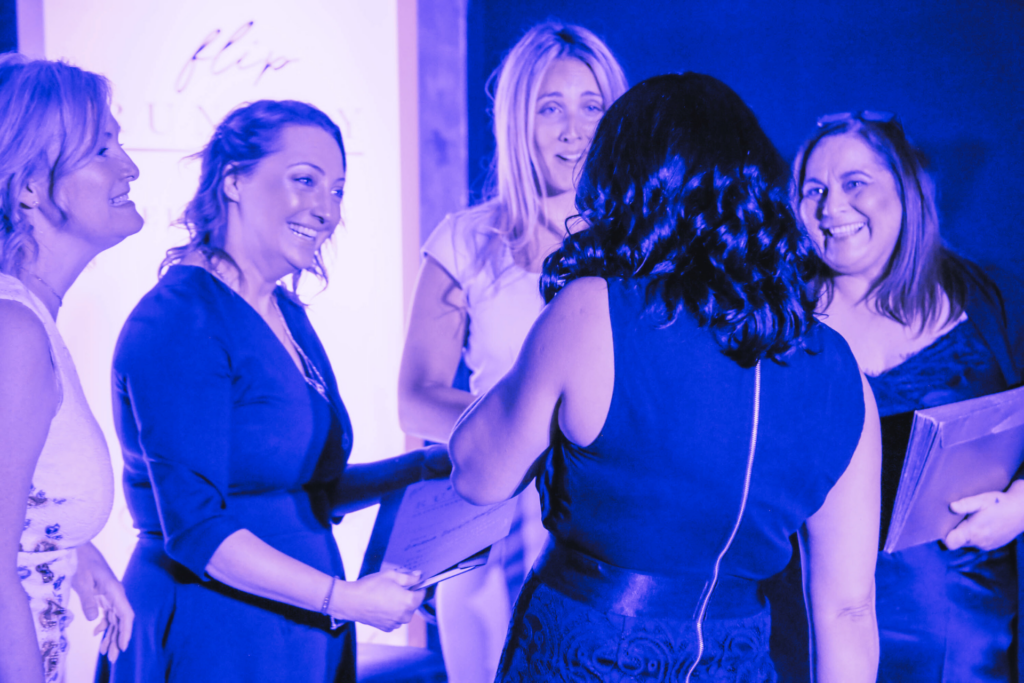
STAND UP AND BE RECOGNISED!
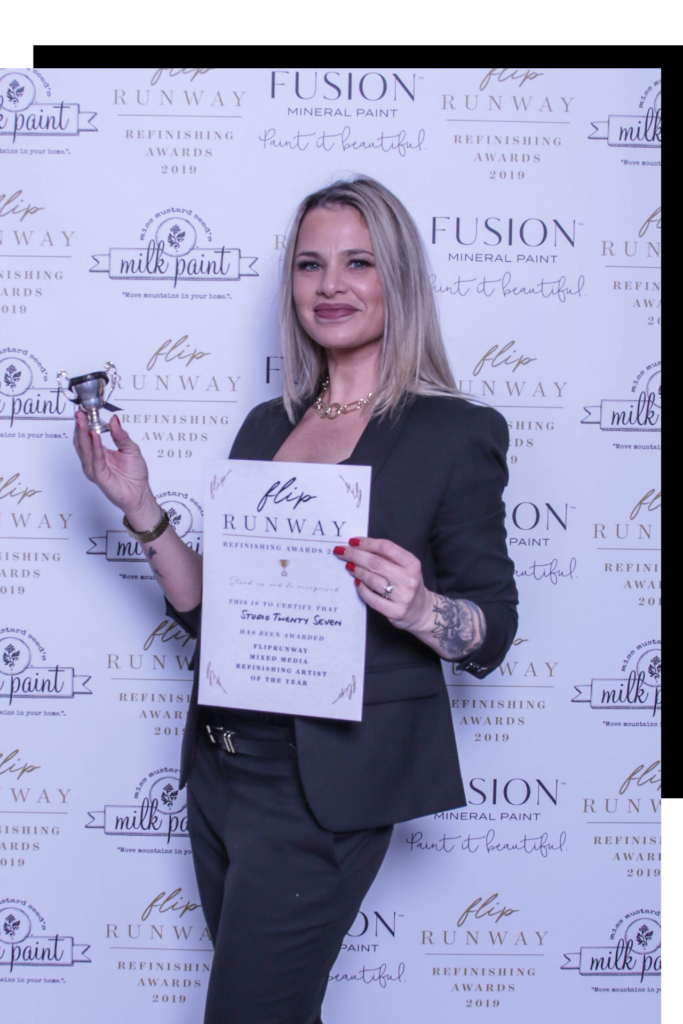
ENTER THE 2024 FLIP RUNWAY REFINISHING AWARDS
Are you ready to elevate your artistry to new heights? The Refinishing Awards are your platform to showcase your mastery in furniture artistry. Don’t miss the opportunity to have your work celebrated among the best in the industry.
WELCOME TO A REALM WHERE ARTISTRY AND IMAGINATION CONVERGE
THE ULTIMATE FURNITURE ART EXPERIENCE
LET CRAFTSMANSHIP BE UNFOLDED: A DIVERSE EXPLORATION OF ARTISTIC FURNITURE PAINTING AND REFINISHING
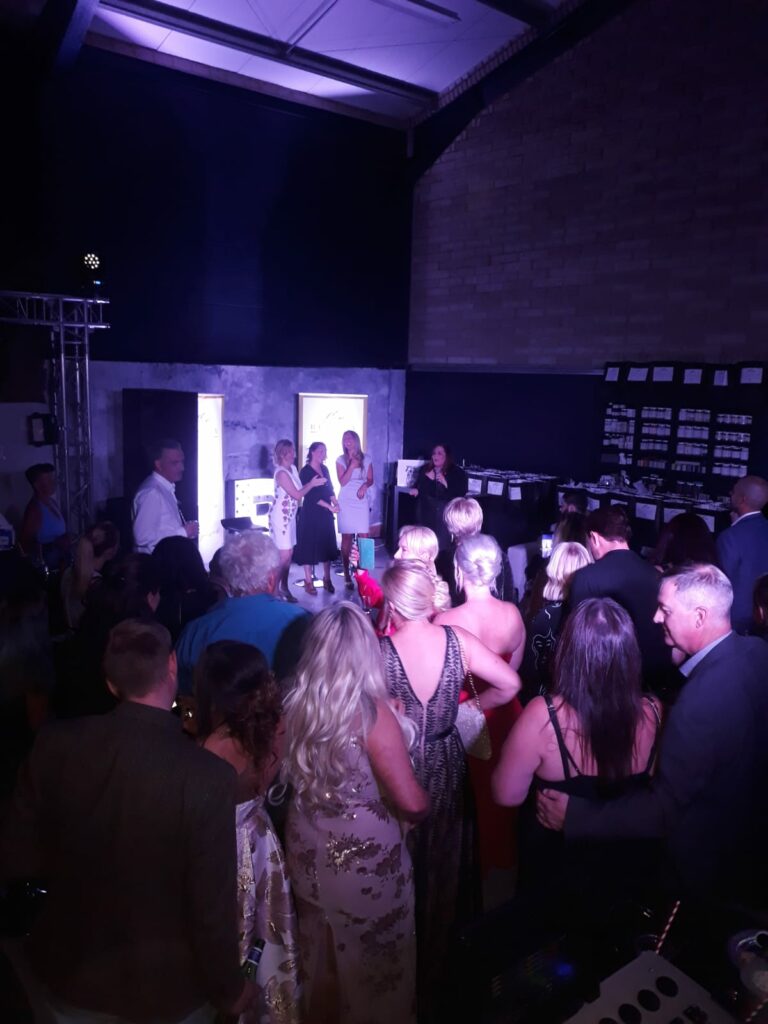
Flip Runway is thrilled to unveil ‘The Refinishing Renaissance: A Furniture Art Exhibition,’ the most exciting furniture refinishing event of the year. Join us in celebrating the pinnacle of furniture artistry, as we honour outstanding talent with the prestigious Flip Runway Refinishing Awards. This three-day spectacle in August, located at The Pie Factory Margate, Art Gallery is not just an exhibition; it’s a journey through creativity, showcasing the very best in furniture art. Get ready for an artistic adventure in the summer sun – prepare to be amazed and delighted, so put on your finest attire and slip into your stylish flip-flops. It’s a fashion-forward celebration of furniture artistry you won’t want to miss!
UNLEASH NEW POSSIBILITIES!
The Refinishing Renaissance: Not your average Art Exhibition – It’s quite possibly going to be the most culturally hip thing in the furniture refinishing world since Warhol’s soup cans became a pop art sensation.😆
Set in the enchanting Old Town of Margate, this event brings together passionate artists, dedicated enthusiasts, and industry professionals. Experience live demonstrations, engaging conversations, and a community united by the love of furniture art.
From awe-inspiring displays to captivating experiences, every moment at The Refinishing Renaissance is designed to inspire and delight.
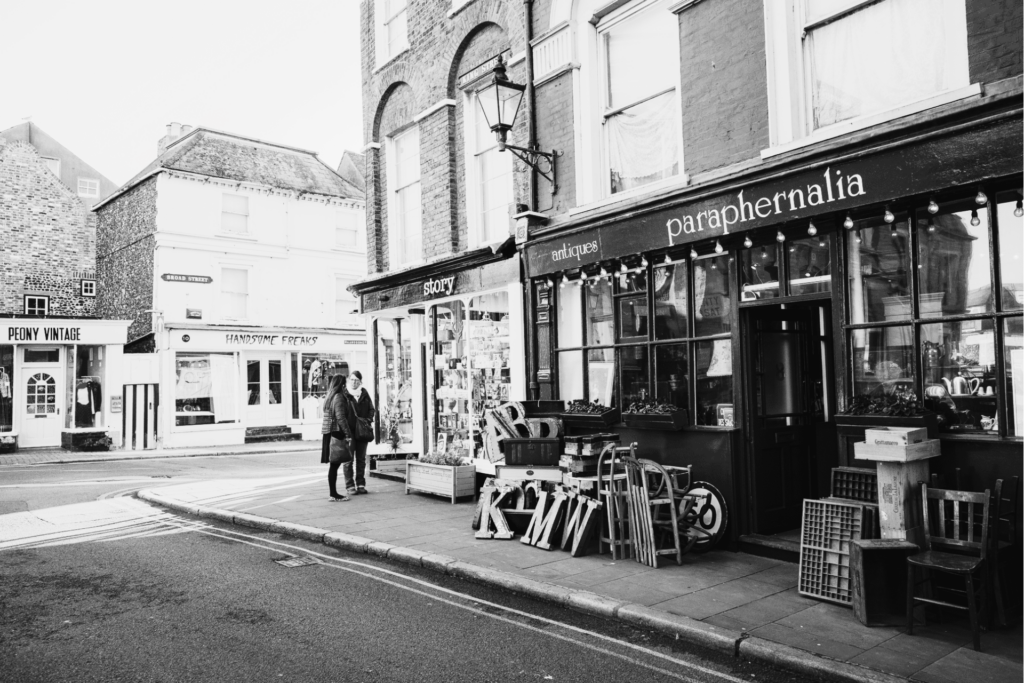
IMMERSE YOURSELF IN MARGATE
Margate, with its rich artistic heritage, forms the perfect backdrop for our event. As you wander through the exhibition, let the charm of this trendy artisan community captivate you. Discover eclectic furniture shops, local art galleries, and a bohemian atmosphere that breathes creativity. Margate isn’t just a location; it’s an integral part of the Refinishing Renaissance experience.
JOIN THE VANGUARD OF FURNITURE ARTISTRY AT THE FOREFRONT OF FURNITURE INNOVATION
EMBARK ON YOUR CREATIVE JOURNEY TODAY
Explore our website for more information on award categories, past winners, and how you can participate in this year’s event. Secure your spot, find accommodation, and get set for an unforgettable experience at The Refinishing Renaissance.